Are you ready to turn this...........

.......into this?!?

Let's get started.!!
Items needed:
*Wicker chair
*Outdoor/Indoor spray paint, 2 cans
*1-1.25 yards outdoor fabric
*1-24 oz bag of Poly-fil
*Blank Paper
*Pins, scissor, fabric marker, tape, ruler or fabric measure, pen or pencil
{decorative pillows are optional, but definitely add POP to the chair}
When choosing the color of paint you'd like to use make sure to imagine the complete project. What do you want it to look like? Will it make and union the room or area you are placing the chair in? Colors are so fun, use them!

I absolutley LOVE turquoise.! My front porch needed color badly and turquoise seems to always be a happy/welcoming color. I choose Valspar's 'Exotic Sea' with a gloss finish. When using spray paint make sure you are in a WELL ventalated area. I sprayed in my backyard. If you're worried about getting the paint on the ground just lay newspapers, plastic, or cardboard underneath the chair.
Start by doing the first layer of paint. I love spray paint because it drys quickly. The trick with spray paint is to spray by using a side to side motion. Make it an even coat all over the chair.
When the first layer is dry, go ahead and do another. {depending on what color your wicker chair was before will determine how many layers you need to do....because my chair started off dark blue I needed atleast two layers}
Let your chair dry for 24 hours outside.
As your waiting for your chair to dry, it's the perfect time to make your cushion.!!
Most of the time you're not going to have a store bought blue print of how to make your exact cushion {size, shape, fullness}. So this is why we make our own ladies.!! Let's do it....
This is where you'll need your blank paper, pen or pencil, fabric measure, tape, pins, and scissors.
To make your simple yet 'gets the job done' cushion blue print start off by taping 6 {you might need more if your seat is larger} blank papers together {pictured below}.
My measurements:
*Arm to arm: 21 in.
*Front arm to back arm {before loop}: 11 in.
*Front loop to back loop: 7 in. curved
*Back of seat: 15 in.
Back of seat to front of seat: 17.5 in.
Your measurements will most likely differ, but that's okay.! The main important thing is making sure to measure all widths and lengths and your golden.
Draw your measurements out on your homemade paper blue print. {a little trick I learned to double check your blue print is even, is to fold it slightly in half after your finished. If both side match up your good to go.! If not just make your needed adjustments and lets move on}.
Here's mine....beautiful isn't it?? Yeah, we'll work on the beauty thing later. It might not be pretty but it serves the purpose and gets the job done.!

Cut out your blue print and get rid of the access paper.
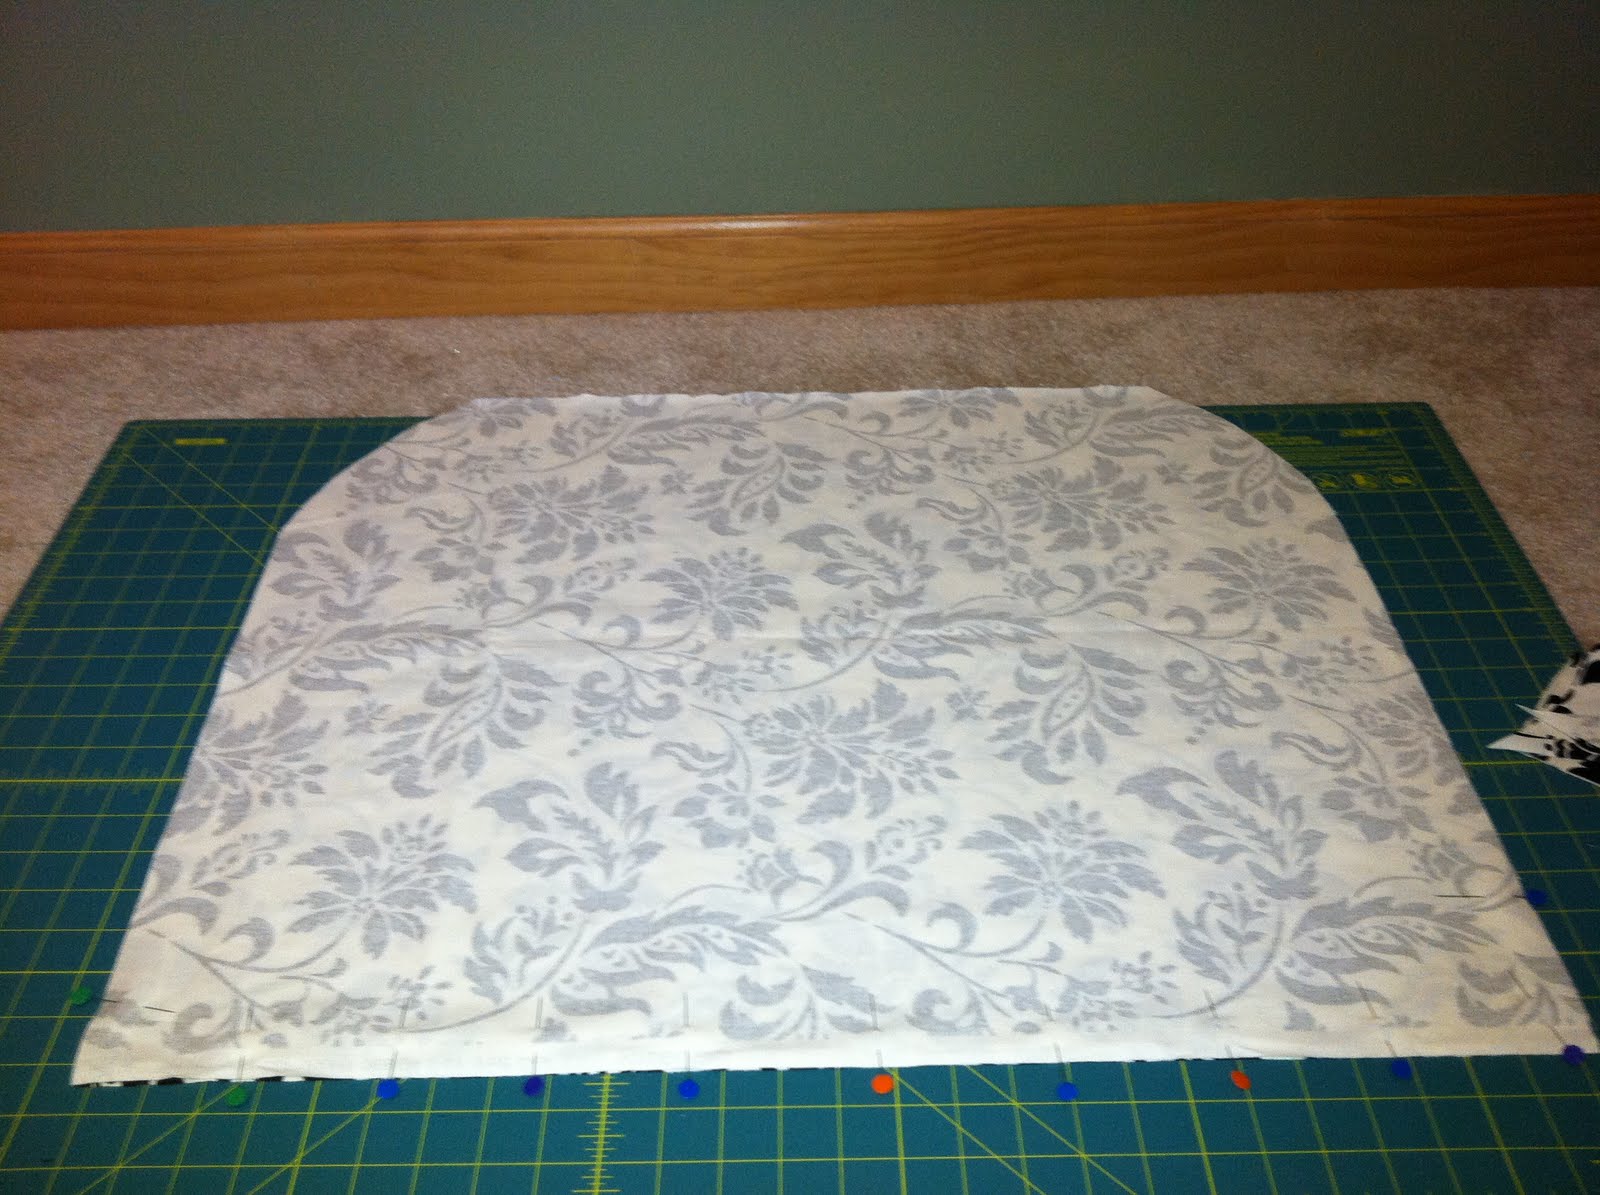
You should be able to fold your fabric in half {pictured below}. Once your fabric is even lay your BP on top.

You always want to give yourself an inch or two extra from your measurements. I gave myself 2.5 in. extra because I wanted a fluffier cushion, you don't need that much if you don't want, but make sure it's atleast an inch. Pin your BP on your fabric {make sure you pin both sides of fabric}.

Carefully cut out your pattern {making sure to remember to give yourself that inch or two extra}.
Turn the fabric so the top design on both sides is on the inside {pictured below} and pin.
Once you have it pinned all the way around it's now time to sew.! I made my stitch at the 3/8 or '10' mark on my footer.

After stitching all the way around, make sure to leave an opening big enough so that you can put your hand/stuffing in {pictured below}.

Before you turn your cushion right side out make sure to clip off your corners {be careful not to clip to close to your stitching!}. If your corners aren't clipped you'll have a more rounded edge instead of a corner.


When it comes to the fluff it's really up to you what type or kind you want to use. I chose Fairfields 'Silky Soft' poly-fil. It's not very expensive {run you about $8-9 per bag}. Some people would rather have foam and batting, but that will run you well over $40 per cushion, and that defeats my whole purpose of refinishing for cheap.! Cheap is good and this type of poly-fil is perfect for this job.

Start stuffing and fluffing.!!
This part is probably going to be your most time consuming {20-30 min}. Because we are using a poly-fil you will get 'lumps' because your not putting one big piece in, your placing multiple pieces in. So the trick is to work with the fil. Place larger pieces in the cushion at the beginning and as you start nearing the end {about 30% left} start using smaller pieces and fill in the gaps that you can see. I use all 24 oz of poly-fil. Just know that it won't be 100% perfect, there will be small raises here and there, but it's an outdoor cushion, no biggie.!!

Once you've stuffed your cushion it's time to close. You have two options at this point: you can either hand sew it shut or machine sew it shut.....it's totally up to you and your preference. I maching sewed mine because I was being lazy. If that's the same case for you......pin it, sew it.

My side kick and partner in crime. Isn't she adorable?!?!

And viola.!! You have yourself a shabby chic, adorable cushion for your new chair.!!
Simple right?

Pillows are amazing ways to make your newly refinished masterpiece look that much more amazing. If your on a tight budget, don't worry, your new cushion and freshly painted chair will look just fine.! I got all three pillows at Hobby Lobby for $25.50.

Look at your chair, it's amazing!! You'll have friends and neighbors wanting you to help them refinish thier old stuff.!
All in all the total cost to make the chair was $54.50 {including pillows} and $29.00 {without pillows}.
Now that's a steal.!!
L.O.V.E it.!
ReplyDeleteGood Job Darci! That is so cute.
ReplyDelete